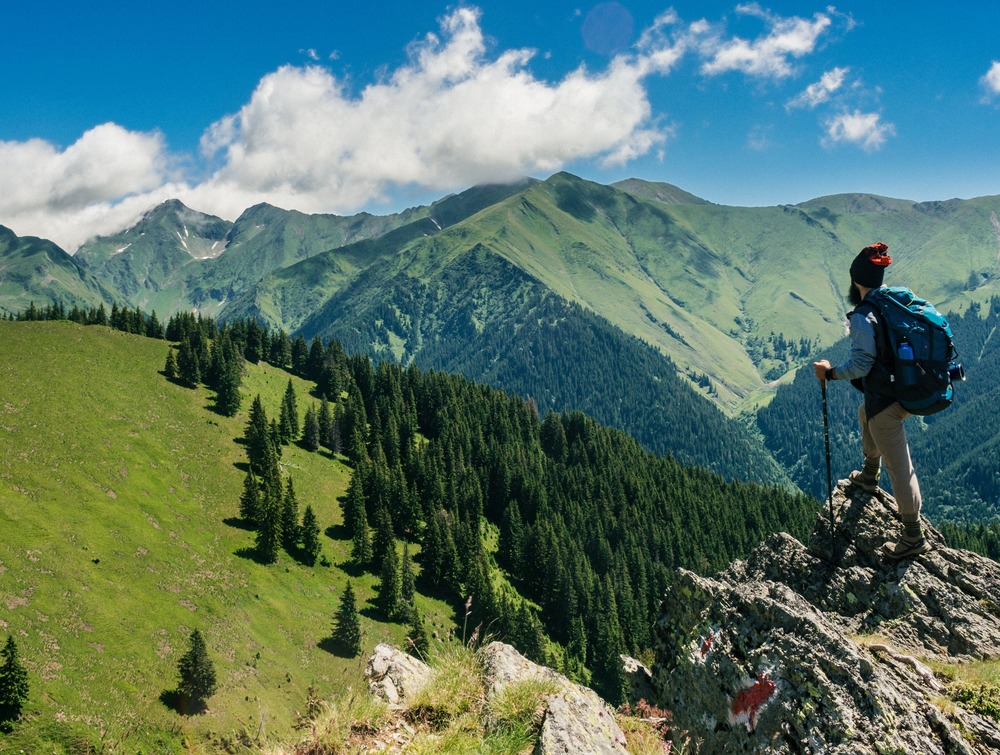
The allure of camping is timeless, and the magic of a campfire, with its dancing flames and comforting warmth, is an integral part of the experience. Whether you’re a seasoned camper or a newbie, understanding the difference between starting and maintaining a campfire is crucial.
This comprehensive guide will walk you through the essentials, safety measures, and pro tips to ensure your campfire game is on point. So, sit back and read on about “A Beginners Guide to Starting a Campfire, An In-depth Tutorial”. Let`s get started.
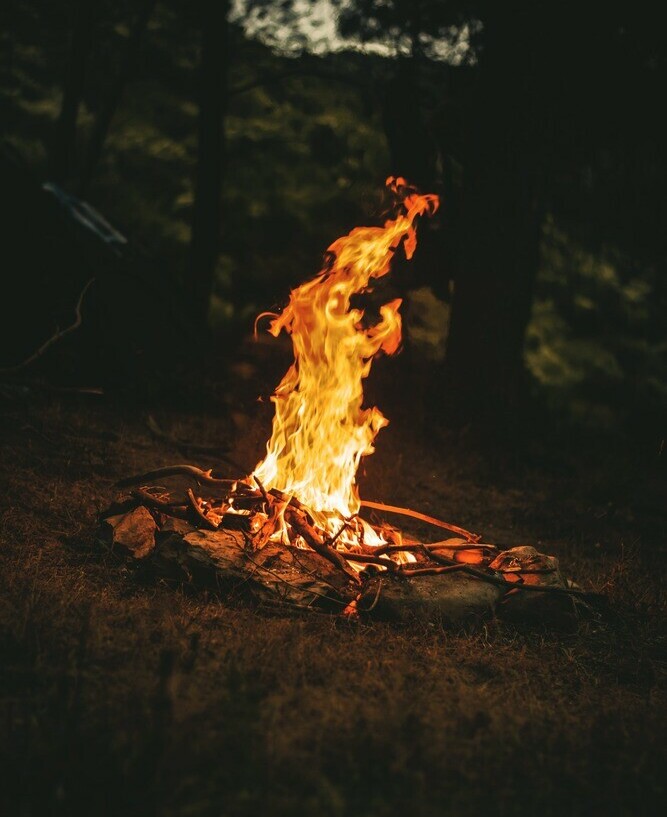
The Essence of Camping And Fire
Camping connects us to our primal roots, and nothing embodies this connection more than a roaring campfire. From the early days of individuals, fire has been a symbol of survival, providing warmth, light, and a means to cook food.
Today, a campfire is more than just a survival tool, it’s the heart of a camping trip, a place for bonding, storytelling, and creating lasting memories.
Types of Camping Fires
Different situations call for different types of fires. Knowing which one to use can make all the difference in your outdoor experience.
Creating a Log Cabin Fire
Ideal for cooking, the log cabin fire is structured, allowing for a flat cooking surface.
Creating a Log Cabin Fire, often used in camping, involves the following steps:
#1 Select a Site
Choose a flat, clear area away from overhanging branches, bushes, or dry grass. Ensure the site is away from tents and other flammable materials.
#2 Prepare The Base
Clear the ground of any leaves or grass. If available, place a small layer of sand or dirt to create a base for the fire. This helps in preventing the fire from spreading.
#3 Gather Materials
Collect Dry Wood And Tinder
What You will need:
Tinder
Small, easily combustible materials like dry leaves, pine needles, or birch bark.
Kindling
Small sticks, twigs or feather sticks that will catch fire from the tinder.
Fuel Wood
Larger pieces of wood will keep the fire burning. Look for dry, dead wood lying around.
Build The Foundation
Start by placing a layer of kindling in the centre of your fire site. This will be the foundation of your log cabin structure.
Construct The Log Cabin
Place two large pieces of fuel wood parallel to each other, on opposite sides of the kindling pile.
Add two more pieces of wood on top of the first two, placing them perpendicular to create a square frame.
Continue adding layers of wood, alternating the direction with each layer, to build a cabin-like structure.
Leave some space between the logs for air to flow.
Fill The Centre
Put a generous amount of tinder in the centre of the log cabin structure, nestled among the kindling.
Light The Fire
Using a match, ferro rod and striker or lighter, ignite the tinder. The flame should catch onto the kindling and then the larger fuel wood. Blow gently at the base of the fire to provide additional oxygen, which will help the fire grow.
Maintain The Fire
As the fire burns, the log cabin structure will eventually collapse. You can add more fuel wood as needed, placing it carefully on the fire to keep it burning steadily.
Safety Precautions
Always have water nearby or a poop trowel to throw dirt over to extinguish the fire if it gets out of control.
Never leave the fire unattended. Be sure your fire is completely out and extinguished before you leave. Spread the ashes and continue to pour water over them to ensure NO embers remain.
Teepee Fire
This method is great for cooking and provides a stable, long-lasting fire with good air circulation. Creating a teepee fire is a straightforward process, often used in camping and outdoor activities due to its efficiency in burning and ease of setup.
Here’s a step-by-step guide:
#1 Select a Safe Location
Choose a flat, open area away from trees, bushes, and other flammable materials. If there’s a designated fire pit or ring, use that.
#2 Prepare The Fire Bed
Clear away any debris, leaves, or grass. If there’s no existing fire pit, create a small pit in the dirt or surround the area with rocks to contain the fire.
Gather Materials: You’ll Need Three Types of Wood
Tinder
Small, easily ignitable materials like dry leaves, grass, birch bark or small twigs.
Kindling
Slightly larger sticks, usually the size of your forefinger or you can make some feather sticks.
Fuel Wood
Larger pieces of wood that will keep your fire burning longer.
Build The Teepee: Start With Tinder
Place a small pile of tinder in the centre of your fire bed.
Add Kindling
Arrange the kindling over the tinder in a teepee shape. The sticks should meet at the top but leave enough space to light the tinder inside.
Add Fuel Wood
Build a larger teepee structure around the kindling with your fuel wood. Again, ensure there’s space to access the tinder.
Light The Fire
Using a match, ferro rod and striker or lighter, ignite the tinder. The spark or fire should catch on the kindling and then spread to the fuel wood. The teepee shape allows air to flow through, aiding combustion.
Maintain The Fire
When the teepee collapses, you can add more wood to keep your campfire going. Always keep an eye on the campfire and never leave it unattended.
Extinguish The Fire Properly
When you’re done, extinguish the fire completely. Douse it with water, stir the ashes, and apply more water. Follow my guide above.
Remember, always follow local guidelines and regulations when building a fire, and never start a fire in windy or dry conditions that could lead to a wildfire.
The Reverse Fire
Building a reverse fire, also known as an upside-down fire or top-down fire, is an efficient way to create a long-lasting campfire with minimal maintenance.
Here’s a step-by-step guide:
Select a Safe Location
Choose a flat, open area away from trees, bushes, and other flammable materials. If there’s a designated fire pit, use it.
Prepare The Fire bed
Clear away any debris, leaves, or grass. If there’s no existing fire pit, create a small pit in the dirt or surround the area with rocks to contain the fire.
Gather Materials
Large Logs
These form the base of your fire.
Medium Logs And Smaller Sticks
These go on top of the larger logs.
Kindling
Small, thin sticks or feather sticks.
Tinder
The easiest-to-light material like dry leaves, paper, birch bark or dry grass.
Build the Base
Place the largest logs side by side in a row at the bottom. This layer should be as compact as possible but not touching, leaving a gap between each log.
The logs should be parallel but not touching each other to create a solid base.
Add Layers
On top of the base layer, add a layer of slightly smaller logs or large sticks. These should be placed perpendicular to the layer below. Remember to add Tinder and kindling in between the logs as you go filling the gaps.
Continue adding layers, each one slightly smaller and perpendicular to the one below, creating a criss-cross pattern.
The top layer should consist of your smallest sticks or large kindling.
Add Tinder And Kindling
On the very top, add a generous amount of Tinder. Place kindling on and around the tinder. This will catch fire first and burn downwards, igniting the layers below. Hence the name, reverse fire.
Light The Fire
Light the tinder from the top. Because heat rises, the fire will burn more efficiently, gradually igniting the kindling, then the sticks, and finally the large logs at the bottom.
The fire should require less tending to as it burns from the top down.
Safety Precautions
Keep a bucket of water, sand, or a fire extinguisher nearby in case you need to extinguish the fire quickly. Never leave the fire unattended. Fully extinguish the fire before leaving the site. Ensure all embers are cold.
The reverse fire method is great for a consistent, long-lasting fire with minimal smoke and maintenance. It’s also eco-friendly as it burns more completely and efficiently.
Making Feather Sticks
Making a feather stick is a useful skill for camping and survival situations.
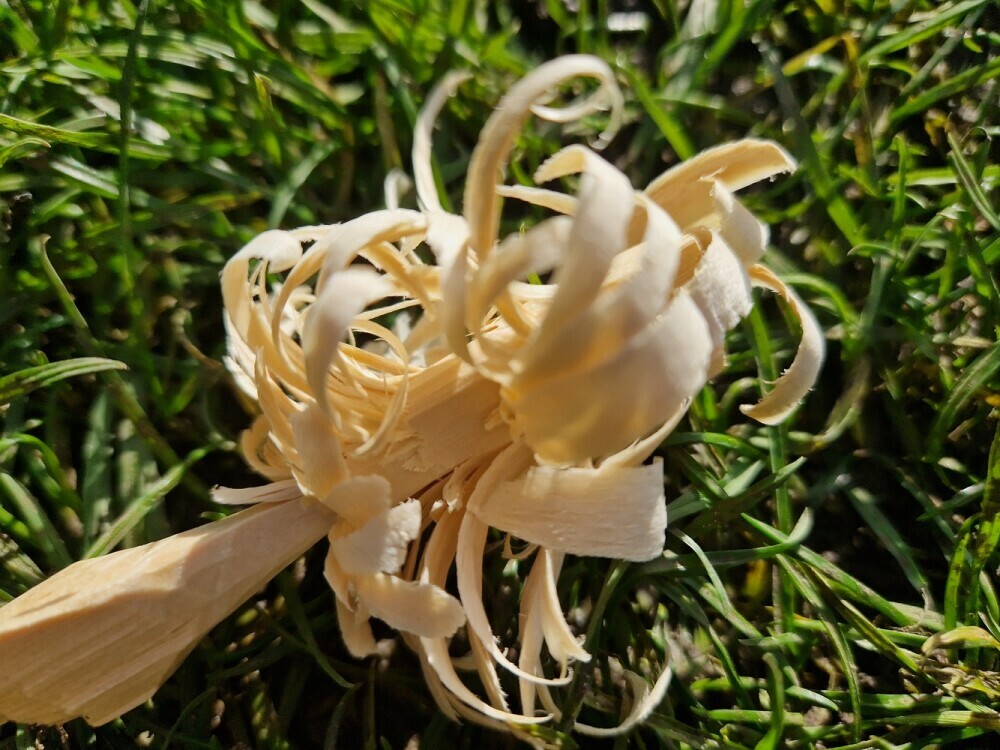
Here’s a step-by-step guide on how to make one:
Materials Needed
A sharp knife
A dry, straight piece of wood (softwoods like pine or spruce are ideal)
Steps to Make a Feather Stick
Select a Suitable Piece of Wood
Find a dry, straight branch or piece of wood, preferably from a softwood tree like pine or spruce. The wood should be about as thick as your wrist and free of knots.
Prepare the Stick
If the wood has bark, carefully shave it off with your knife. This exposes the dry inner wood which is easier to work with.
Start Shaving Thin Curls
Hold the stick firmly in one hand and the knife in the other. Begin shaving thin curls of wood from the stick. Start from about halfway down the stick and work towards one end. The goal is to create thin, curly shavings that remain attached to the stick.
Angle and Pressure
The angle of the knife and the pressure you apply are crucial. Hold the knife at a shallow angle to the wood, and use a controlled, steady pressure. This helps in creating long, thin curls.
Work Around the Stick
Rotate the stick and repeat the process around its circumference. You want an evenly distributed set of curls around the stick.
Leave the Curls Attached
The curls should remain attached at one end. They should be thin enough to catch fire easily but still attached to the main stick for stability.
Creating More Feather Sticks
Depending on your needs, you might want to create several feather sticks to ensure you have enough kindling for your fire.
Tips for Success
Sharp Knife
Ensure your knife is sharp. A dull knife makes this process more difficult and dangerous.
Safety First
Always cut the stick away from your body to avoid any injury.
Practice
Making a good feather stick takes practice. Don’t feel discouraged if your first few or more attempts aren’t perfect. Feather sticks are excellent for starting fires in damp conditions as the thin shavings will catch fire more easily than larger pieces of wood. They’re a fundamental skill in bush craft and a valuable addition to any camper’s skillset.
Would you like to know how to Use a Ferro Rod?
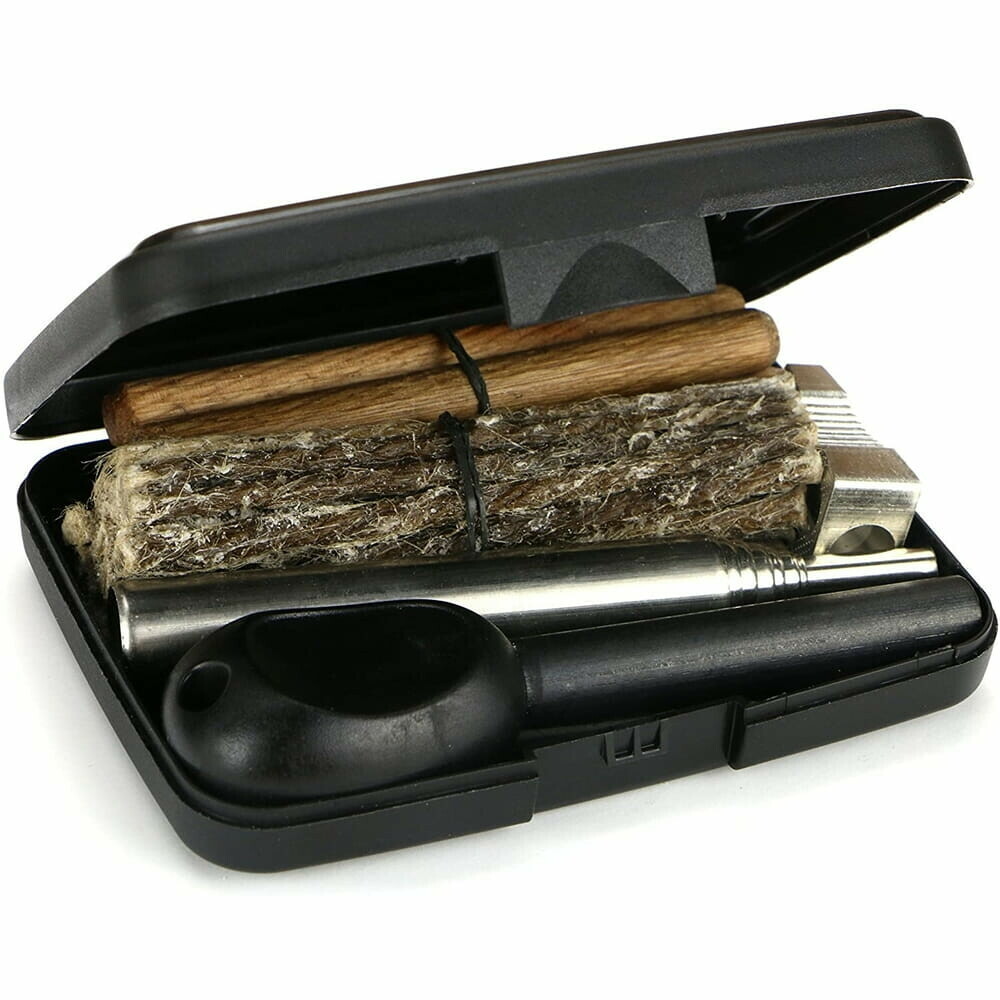
A ferro rod and striker are essential tools for outdoor enthusiasts, especially those interested in alternative fire-making techniques. The ferro rod, a small, portable rod made of a ferrocerium alloy, is designed to produce sparks when scraped with the back edge of your knife or a striker.
Here`s a Beginners Recap
Selecting the Right Firewood
The wood you choose plays a pivotal role in your fire’s success.
Hardwoods vs Softwoods
While hardwoods like oak and maple burn longer, softwoods like pine ignite faster but burn out quicker.
Seasoned vs Fresh Wood
Seasoned wood, which has been dried for at least six months, is ideal for a steady flame.
Choosing The Right Size?
Depending on what size you want your fire, it all starts with 4 main ingredients, a way to light your fire, choosing the Right Tinder, the kindling, and the fuel wood. How large your campfire is up to you, just be careful, stay in control.
Setting Up Your Fire Pit
Safety First! Setting up a proper fire pit ensures you can enjoy the fire without any mishaps.
Choosing the Right Location
Always select a spot away from trees, bushes, and tents.
Digging the Pit
A shallow pit surrounded by rocks is ideal.
Safety Measures
Always have water or sand on hand in case the fire gets out of control.
Starting the Fire: The fun begins!
Here’s how you can get that flame going:
The Ignition
Lighter, ferro rod and striker or matches.
Tinder: The start Process
Best Materials to Use is dry leaves, birch bark, pine needles or dry grass work best.
Kindling: The Building Blocks
Start small with twigs, sticks or feather sticks and add progressively larger pieces.
Fuel: Sustaining Your Fire
Larger logs and branches will keep your fire burning for hours.
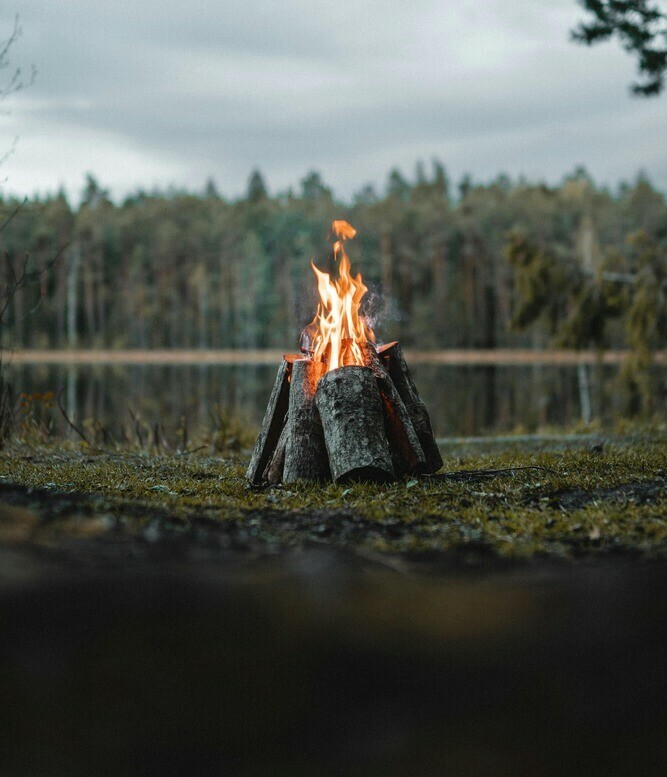
Maintaining Your Camping Fire
A good fire requires maintenance. Here’s how to keep it burning bright.
Watching for Wind Direction
Ensure the wind doesn’t blow embers towards flammable materials or your tent.
Feeding the Fire
Add logs and adjust them as needed.
Safety Precautions
Never leave a fire unattended!
Extinguishing the Fire
All good things must come to an end. Here’s how to do it safely:
When to Put it Out Ideally is when the logs have burned down to ash.
Safest Methods to Extinguish
Water, followed by sand or dirt, ensures the fire is completely out.
Leaving No Trace
Always clean up after yourself, leaving the site as you found it.
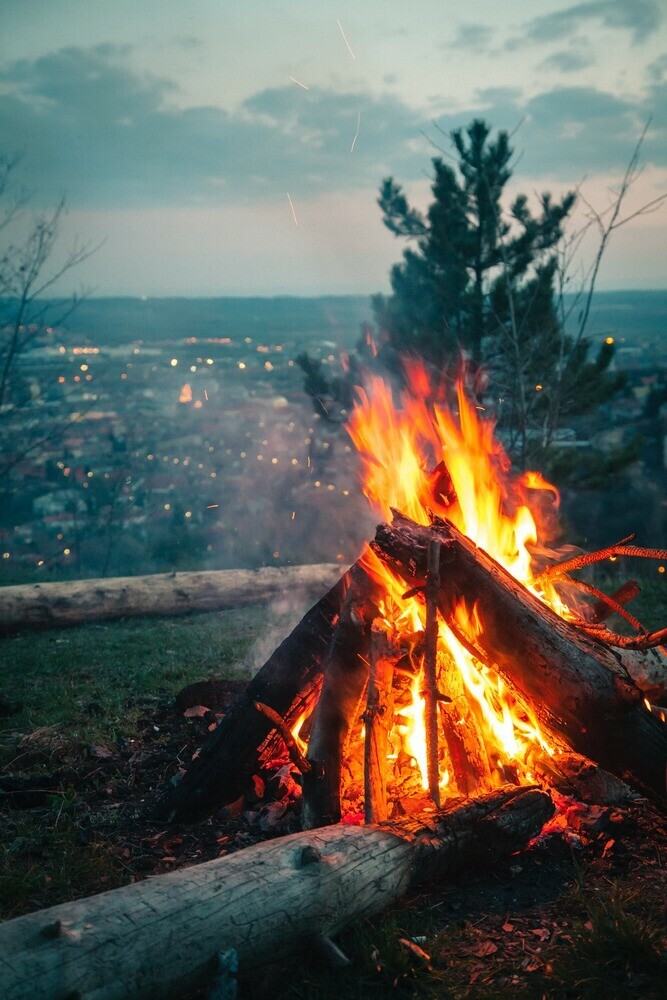
Benefits of Camping Fire
Beyond the obvious warmth and light, a fire offers numerous benefits.
Warmth and Light
Essential for those chilly nights and dark surroundings.
Cooking and Boiling Water
A natural stove and kettle, all in one.
Psychological Benefits
The hypnotic dance of the flames can be meditative and calming.
Common Mistakes to Avoid
Even seasoned campers can make these mistakes.
Here’s what to watch out for:
Using Green Wood
It won’t burn efficiently and will create a lot of smoke.
Building Fire Under Low Hanging Branches
A potential hazard for obvious reasons.
Not Preparing Enough Firewood
Always gather more than you think you’ll need.
Starting a camping fire might seem daunting, but with the right knowledge and precautions, even a novice can master it. From selecting the right wood, setting up a safe fire pit, to extinguishing it properly, every step is crucial. Remember, safety always comes first, and it’s essential to respect nature and leave no trace.
FAQs (Frequently Asked Questions)
What’s the best wood for starting a fire?
Seasoned hardwoods like oak and maple are ideal as they burn longer and produce consistent heat.
How can I ensure my fire is safe?
Always set up a fire pit in a clear area, have water or sand handy, and never leave the fire unattended.
Why is my fire producing a lot of smoke?
This could be due to using green or damp wood. Always use dry, seasoned wood.
Can I cook directly over the fire?
Yes, especially if you’ve set up a log cabin fire. Ensure the firewood used is untreated and safe for cooking. I usually wait until the fire collapses and cook directly over the embers adding fuel when needed.
How do I put out my fire safely?
Let your fire burn right down and then douse it with water, followed by sand or dirt. Ensure no embers remain alight before leaving the site.
Safely extinguishing your fire

Conclusion
Starting a camping fire is an essential skill for any outdoor enthusiast. With practice, patience, and the knowledge from this beginners guide, you’ll be a fire-starting pro in no time. So, the next time you’re out in the wild, gather around a campfire, roast some marshmallows, and create memories that will last a lifetime.
